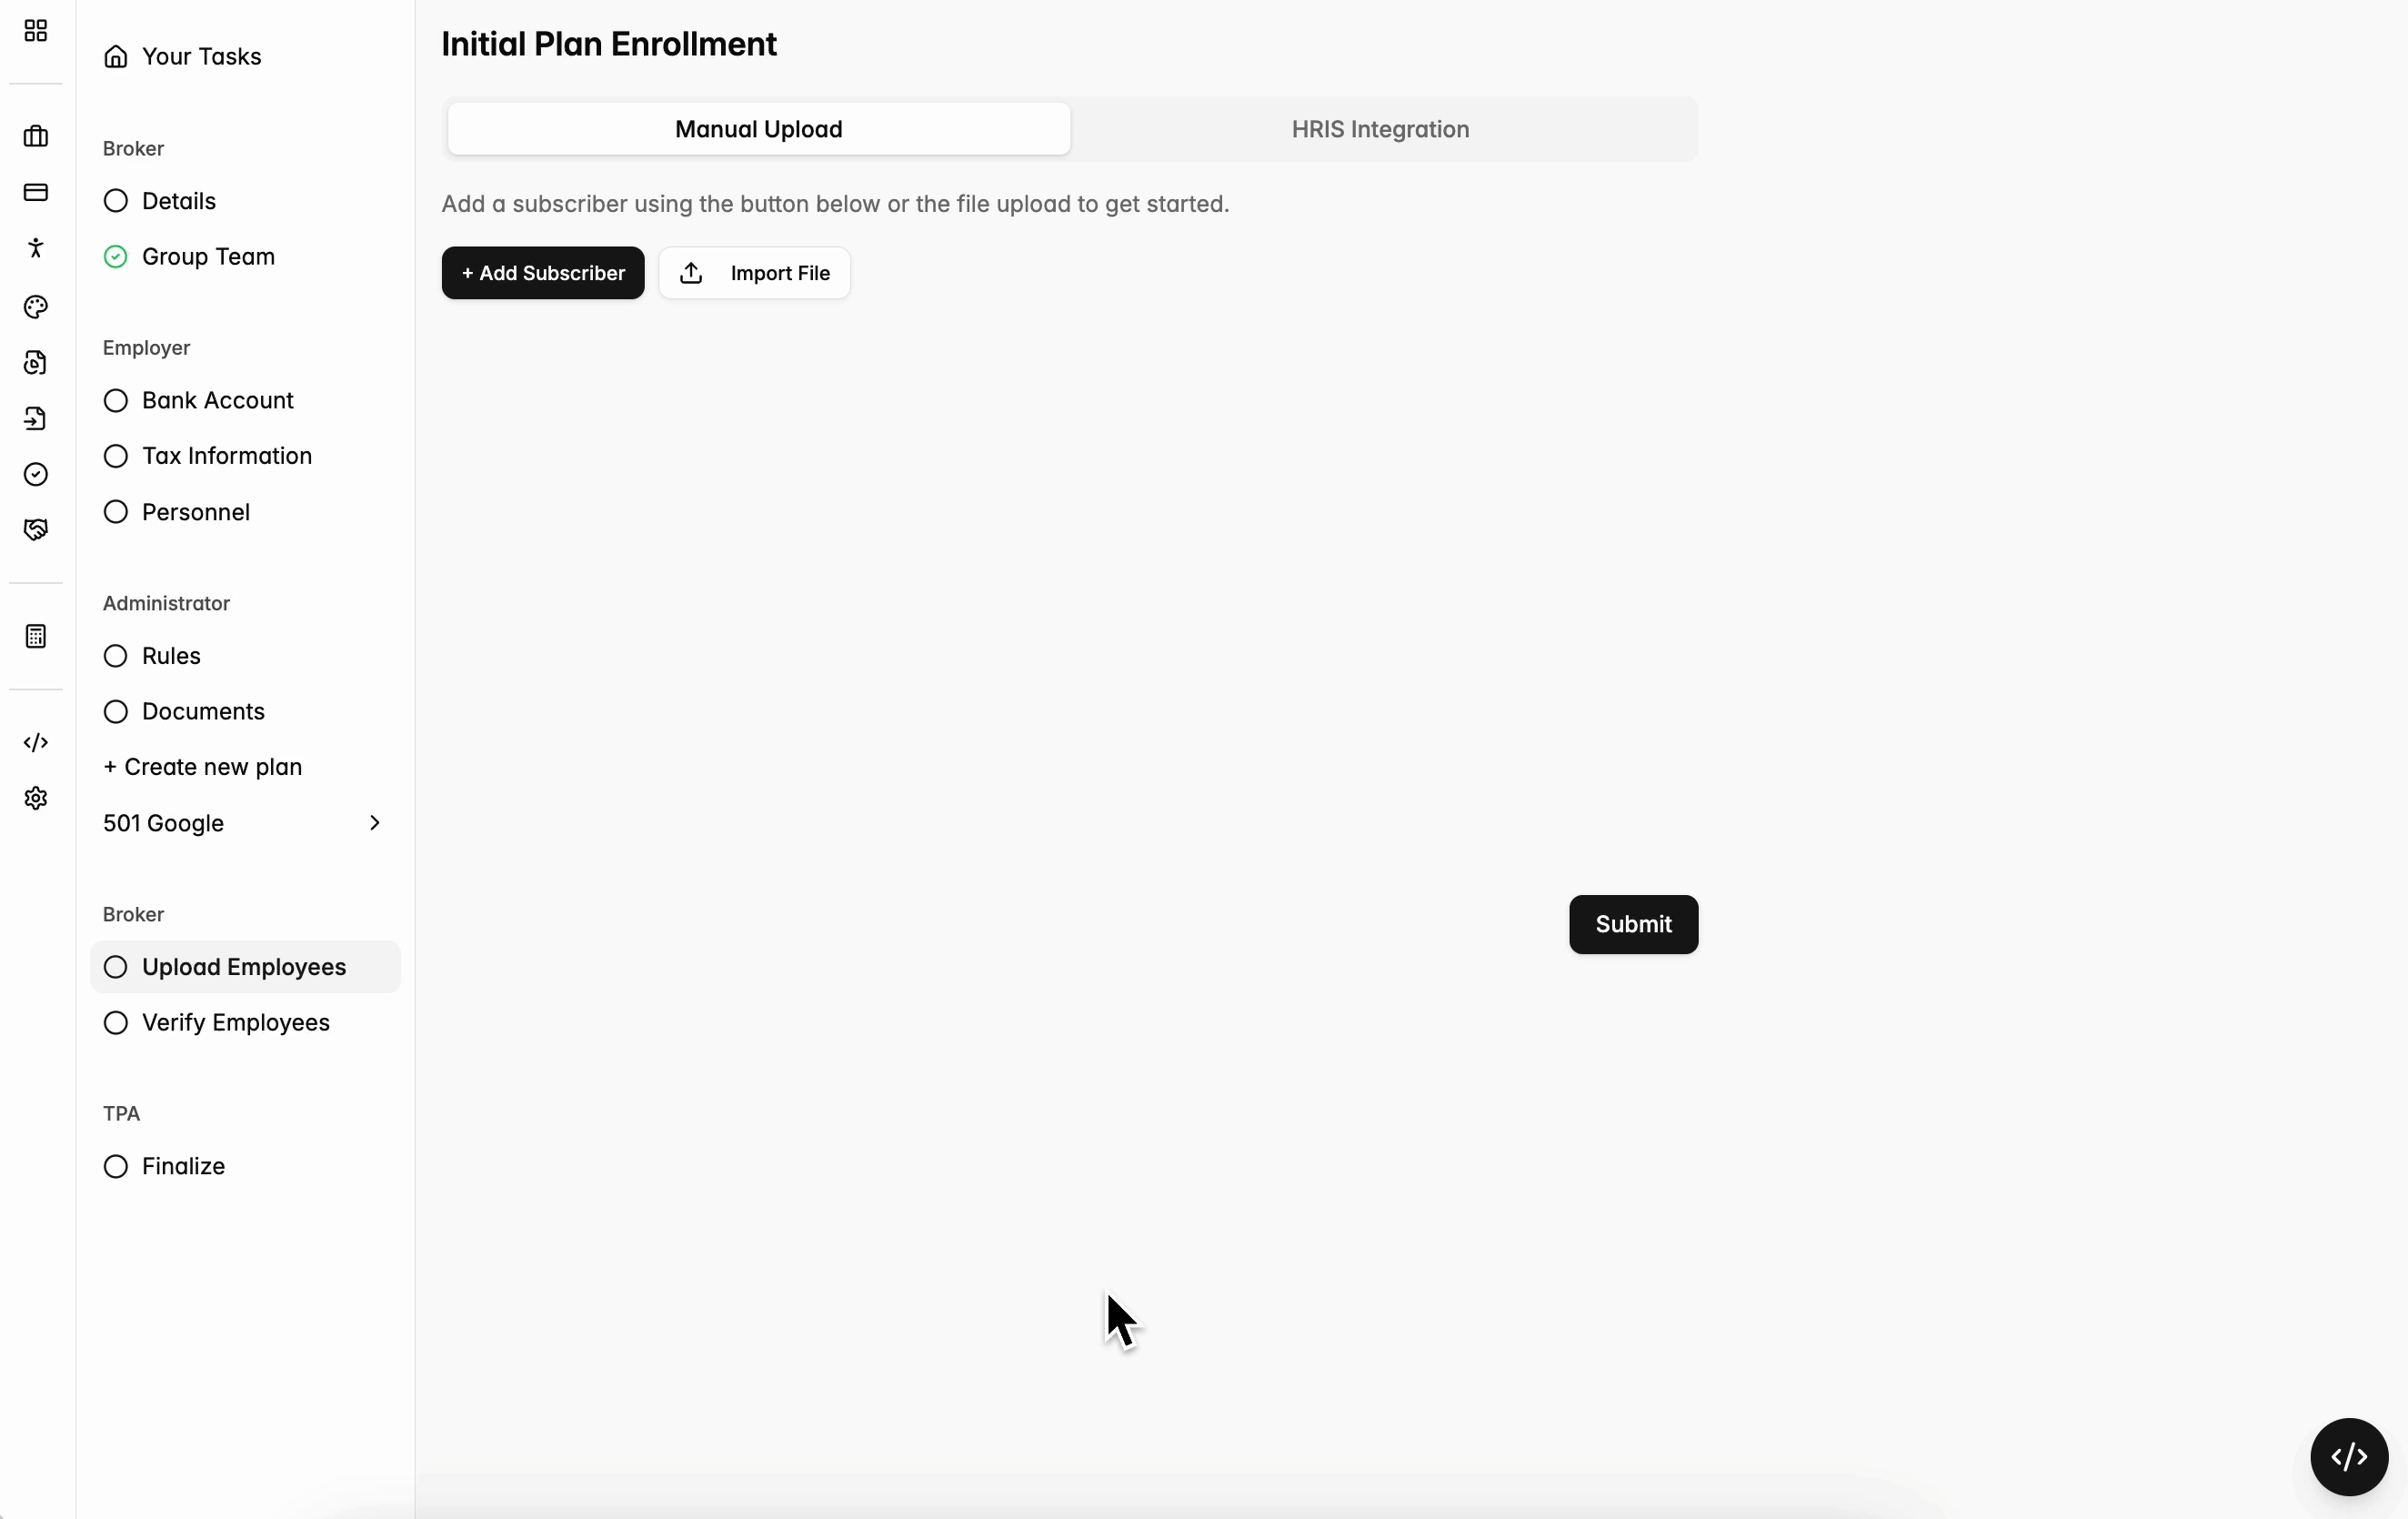
Importing census files for new employer groups. Initial Plan Enrollment Manual Uploads.
How do I manually upload an enrollment file?
(1) Download the example file roster format:
- In your onboarding group navigate to the ‘Upload Employees’ Tab on the left-hand side, click ‘Manual Upload’ and ‘Import File’. Then, click the ‘Download Example File’ button.
- It’s important that each column title for the upload matches what is included in the example roster, and the cell format matches the example.
(2) Clean roster data:
- For a clean upload, try to match the example file inputs as best as possible. Clicking the ‘AI Suggestion’ button at the top of the Import File page will help with our best guess of matching columns.
What common upload problems might I run into?
- Census files are ingested top to bottom. Please make sure all dependents are listed directly under their primary subscriber.
- In order for the census to upload, each member’s phone and e-mail must be unique. If there are mistakes, they will be highlighted during the upload process.
- For dependents who do not have unique emails or phone numbers, they can have those fields left blank. Please do not input a placeholder value for these or your upload may be blocked.
- If you use a different term in your file (employee instead of subscriber, for example), you may need to map them in the portal as you upload the file.
- Your numbers might not be numbers. For columns like “Zip Code” where you might see a leading 0, make sure your file isn’t automatically adjusting those values.
- Scroll through the table that populates when you upload a census to make these changes.
How do I add members throughout the plan year?
Adding and removing members can be done on the active plan page. For reference check out this guide on Adding and Removing Members.